What is Kokoro TTS?
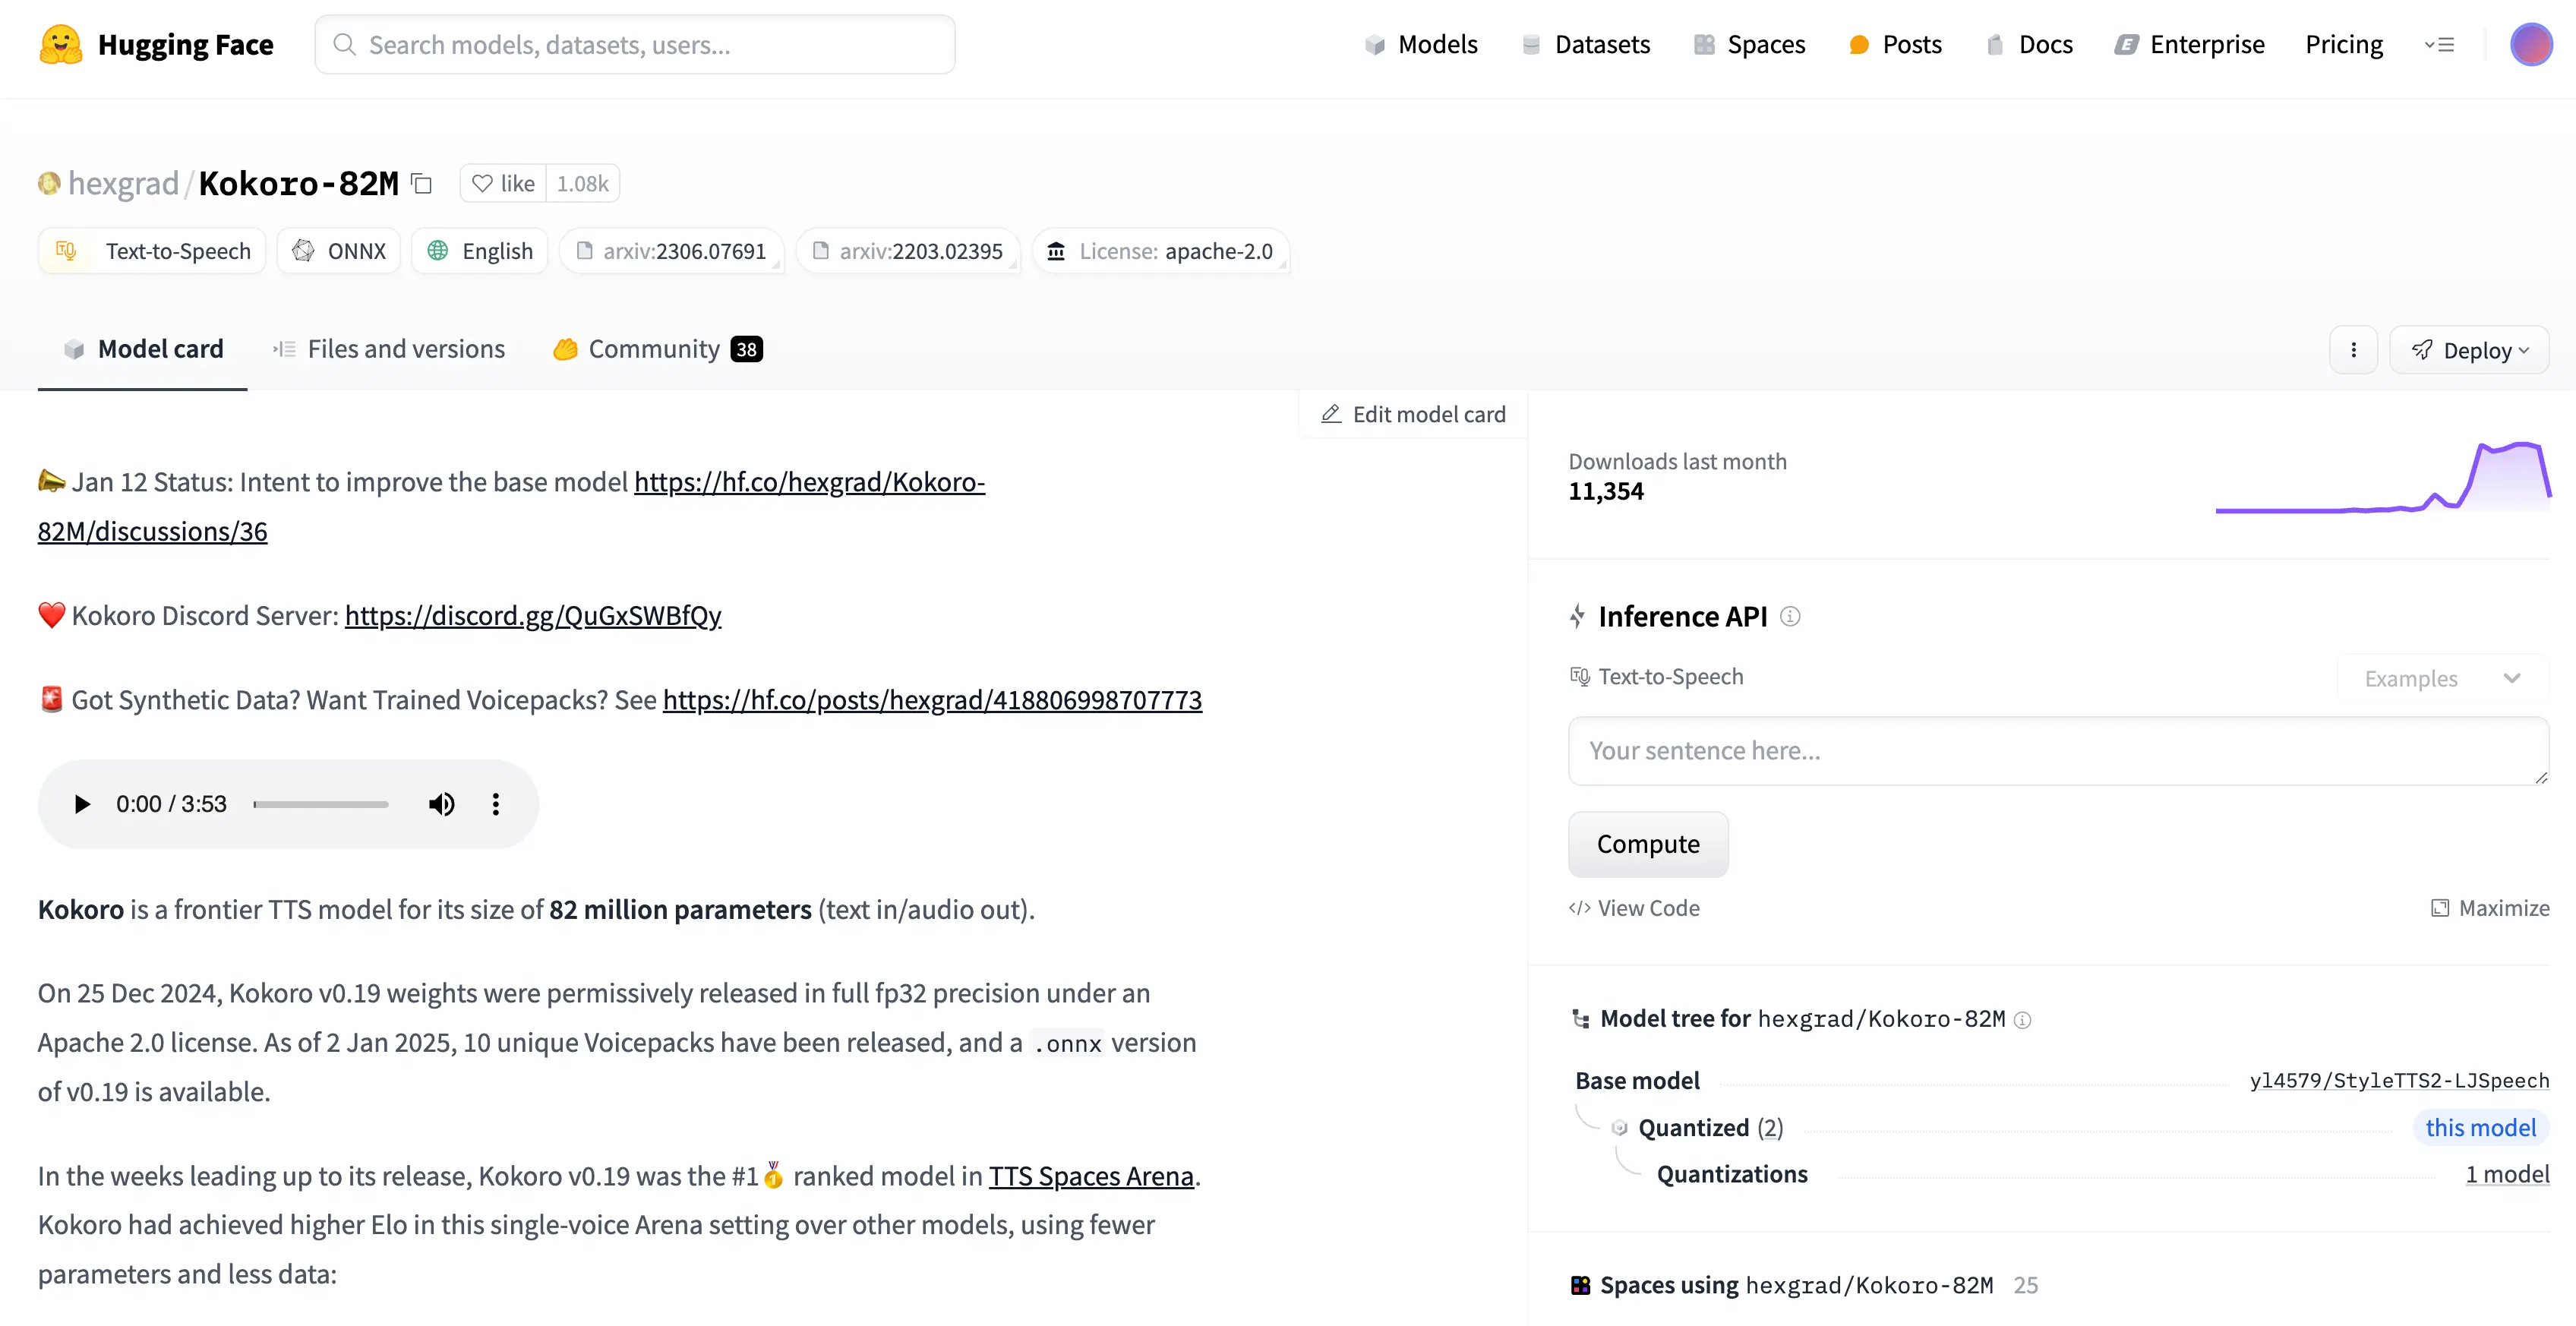
Kokoro TTS is a state-of-the-art text-to-speech model that leverages advanced machine learning techniques to convert written text into natural-sounding speech. Renowned for its efficiency and performance, Kokoro TTS utilizes just 82 million parameters to produce high-quality audio output.
This compact model, with a file size of only 350 MB, is specifically designed for low-latency applications, making it an excellent choice for real-time voice synthesis in various environments, from mobile devices to web applications. Its versatility allows it to cater to a wide range of use cases, including virtual assistants, audiobooks, and interactive voice response systems.
Overview of Kokoro TTS
| Feature | Description |
|---|---|
| Model Size | 350 MB |
| Parameters | 82 million |
| Multilingual Support | Supports multiple languages including English, French, Japanese, Chinese, and Korean. |
| Commercial Use | Licensed under Apache 2.0. |
| Training Data | Trained on less than 100 hours of audio data. |
| Cost Efficiency | Trained on 8008 GB VRAM instances costing less than $1 per hour per GPU. |
Key Features of Kokoro TTS
High Quality Output
Produces natural-sounding speech with minimal artifacts.
Fast Processing
Generates audio quickly, making it suitable for real-time applications.
Customizable Voices
Offers a variety of voice options to suit different applications.
Easy Integration
Can be easily integrated into various platforms and applications.
Active Community Support
Backed by a vibrant community for troubleshooting and enhancements.
How to Use Kokoro TTS: Step-by-Step Guide
Step 1: Setting Up the Environment
Choosing the Installation Folder
First, open the folder where you want to install Kokoro TTS. Once you’ve selected the folder, open a terminal by clicking on the file path, typing CMD, and hitting Enter. This will open a terminal in the selected folder.
Cloning the Repository
Next, copy the first command from the script, which is:
git clone https://github.com/NeuralFalconYT/Kokoro-82M-WebUI.git
Paste this command into the terminal and hit Enter. This will download all the files from the GitHub repository.
Navigating to the Kokoro Folder
After cloning the repository, copy the second command:
cd kokoro_82m
Paste it into the terminal and hit Enter. This will take you inside the Kokoro folder.
Step 2: Creating a Virtual Environment
Why Use a Virtual Environment?
While you can skip this step, it’s highly recommended to create a virtual environment to avoid conflicts with other Python projects.
Creating the Virtual Environment
To create a virtual environment, paste the following command into the terminal:
python -m venv myEnv
Hit Enter, and the virtual environment will be created. You’ll see a folder named myEnv in your directory.
Activating the Virtual Environment
To activate the virtual environment, use the following command:
For Windows: myEnv\Scripts\activate
For Mac and Linux: source myEnv/bin/activate
Once activated, you’ll see the virtual environment name in your terminal prompt.
Step 3: Installing PyTorch
Checking Your CUDA Version
Before installing PyTorch, you need to check your CUDA version. Run the following command:
nvidia-smi
This will display your CUDA version. For example, my CUDA version is 11.8.
Installing the Correct PyTorch Version
Visit the PyTorch installation page and select the appropriate CUDA version. For instance, if your CUDA version is 11.8, copy the corresponding PyTorch installation command.
pip install torch [CUDA link]
Paste the modified command into the terminal and hit Enter. The installation may take some time.
Step 4: Installing Required Packages
Installing Dependencies
Once PyTorch is installed, you need to install the required packages. Use the following command:
pip install -r requirements.txt
This will install all the necessary dependencies. After the installation is complete, clear the terminal screen using:
cls
Step 5: Downloading the Models
Downloading the Models and Voice Packs
To download the models and voice packs, run the following command:
python download_model.py
This script will download the original model (k9.pth) and a quantized version, which is faster but slightly reduces output quality. Additionally, it will download 12 default voice packs.
Combining Voices
I’ve added a feature in the download_model.py script that allows you to combine two voices to create a new one. For example, you can mix Bella and Sara to create a unique voice. If you prefer to stick with the default 12 voices, you can comment out the relevant line in the script.
import torch
bella = torch.load('voices/af_bella.pt', weights_only=True)
sarah = torch.load('voices/af_sarah.pt', weights_only=True)
af = torch.mean(torch.stack([bella, sarah]), dim=0)
assert torch.equal(af, torch.load('voices/af.pt', weights_only=True))
Creating a Shell Script
To simplify the process, you can create a shell script (run_app.sh) to automate the steps. Here’s how:
- Create a new file named run_app.sh in the kokoro_82m folder.
- Add the following lines to the file:
#!/bin/bash
source myEnv/bin/activate
python app.py
chmod +x run_app.sh
./run_app.sh
Step 6: Installing ISPNG (Windows Only)
Downloading and Installing ISPNG
If you’re using Windows, you’ll need to install ISPNG. Follow these steps:
- Click on the provided link to download the ISPNG MSI file.
- Open the downloaded file and follow the installation prompts:
- Accept the license agreement.
- Click “Next” until the installation begins.
- Click “Yes” to confirm and “Finish” to complete the installation.
Verifying the Installation
To verify the installation, navigate to:
C:\Program Files\ISPNG
Ensure that the ISPNG folder is present.
Step 7: Running the Gradio App
Running the App
To run the Gradio app, ensure you’re inside the virtual environment. Use the following command:
python app.py
This will load the model and provide a Gradio link. Click on the link to open the interface in your browser.
Step 8: Using the Kokoro TTS Interface
Generating Audio
Once the interface is open, you can start generating audio. Here’s how:
- Enter your text in the input box.
- Select a voice from the dropdown menu. The first 12 options are the default voices, while the rest are combinations of these voices.
- Click “Generate” to create the audio.
Adjusting Settings
You can customize the output using the following options:
- Model Selection: Choose between the original model and the quantized version.
- Autoplay: Enable or disable autoplay for the generated audio.
- Remove Silences: Remove silences longer than 0.05 seconds.
- Speed: Adjust the playback speed using a slider or by entering a value.
- Trim: Trim silences at the beginning and end of the audio.
- Pad Between: Add silence between audio segments for large texts.
Step 9: Running on Google Colab
Step 1: Open Google Colab
First, open Google Colab and create a new notebook. You can do this by visiting Google Colab.
Step 2: Copy the Code from Hugging Face
Next, go to the Hugging Face repository for Kokoro TTS. You’ll find a piece of code that can be run in a single cell on Google Colab. This makes the setup process incredibly straightforward.
!git lfs install
!git clone https://huggingface.co/hexgrad/Kokoro-82M
%cd kokoro-82m
!pip install -r requirements.txt
Paste this code into a single cell in your Google Colab notebook.
Step 3: Connect to a GPU
To ensure optimal performance, connect your notebook to a T4 GPU. Here’s how:
- Click on Runtime in the top menu.
- Select Change runtime type.
- Choose T4 GPU from the hardware accelerator dropdown.
- Save the settings and click Connect.
Once connected, you’re ready to run the code.
Pros and Cons
Pros
- Open source and free
- Multiple model sizes available
- Both browser and desktop automation
- Advanced vision processing
Cons
- 72B model requires high-end hardware
- System permissions required
- Complex automation